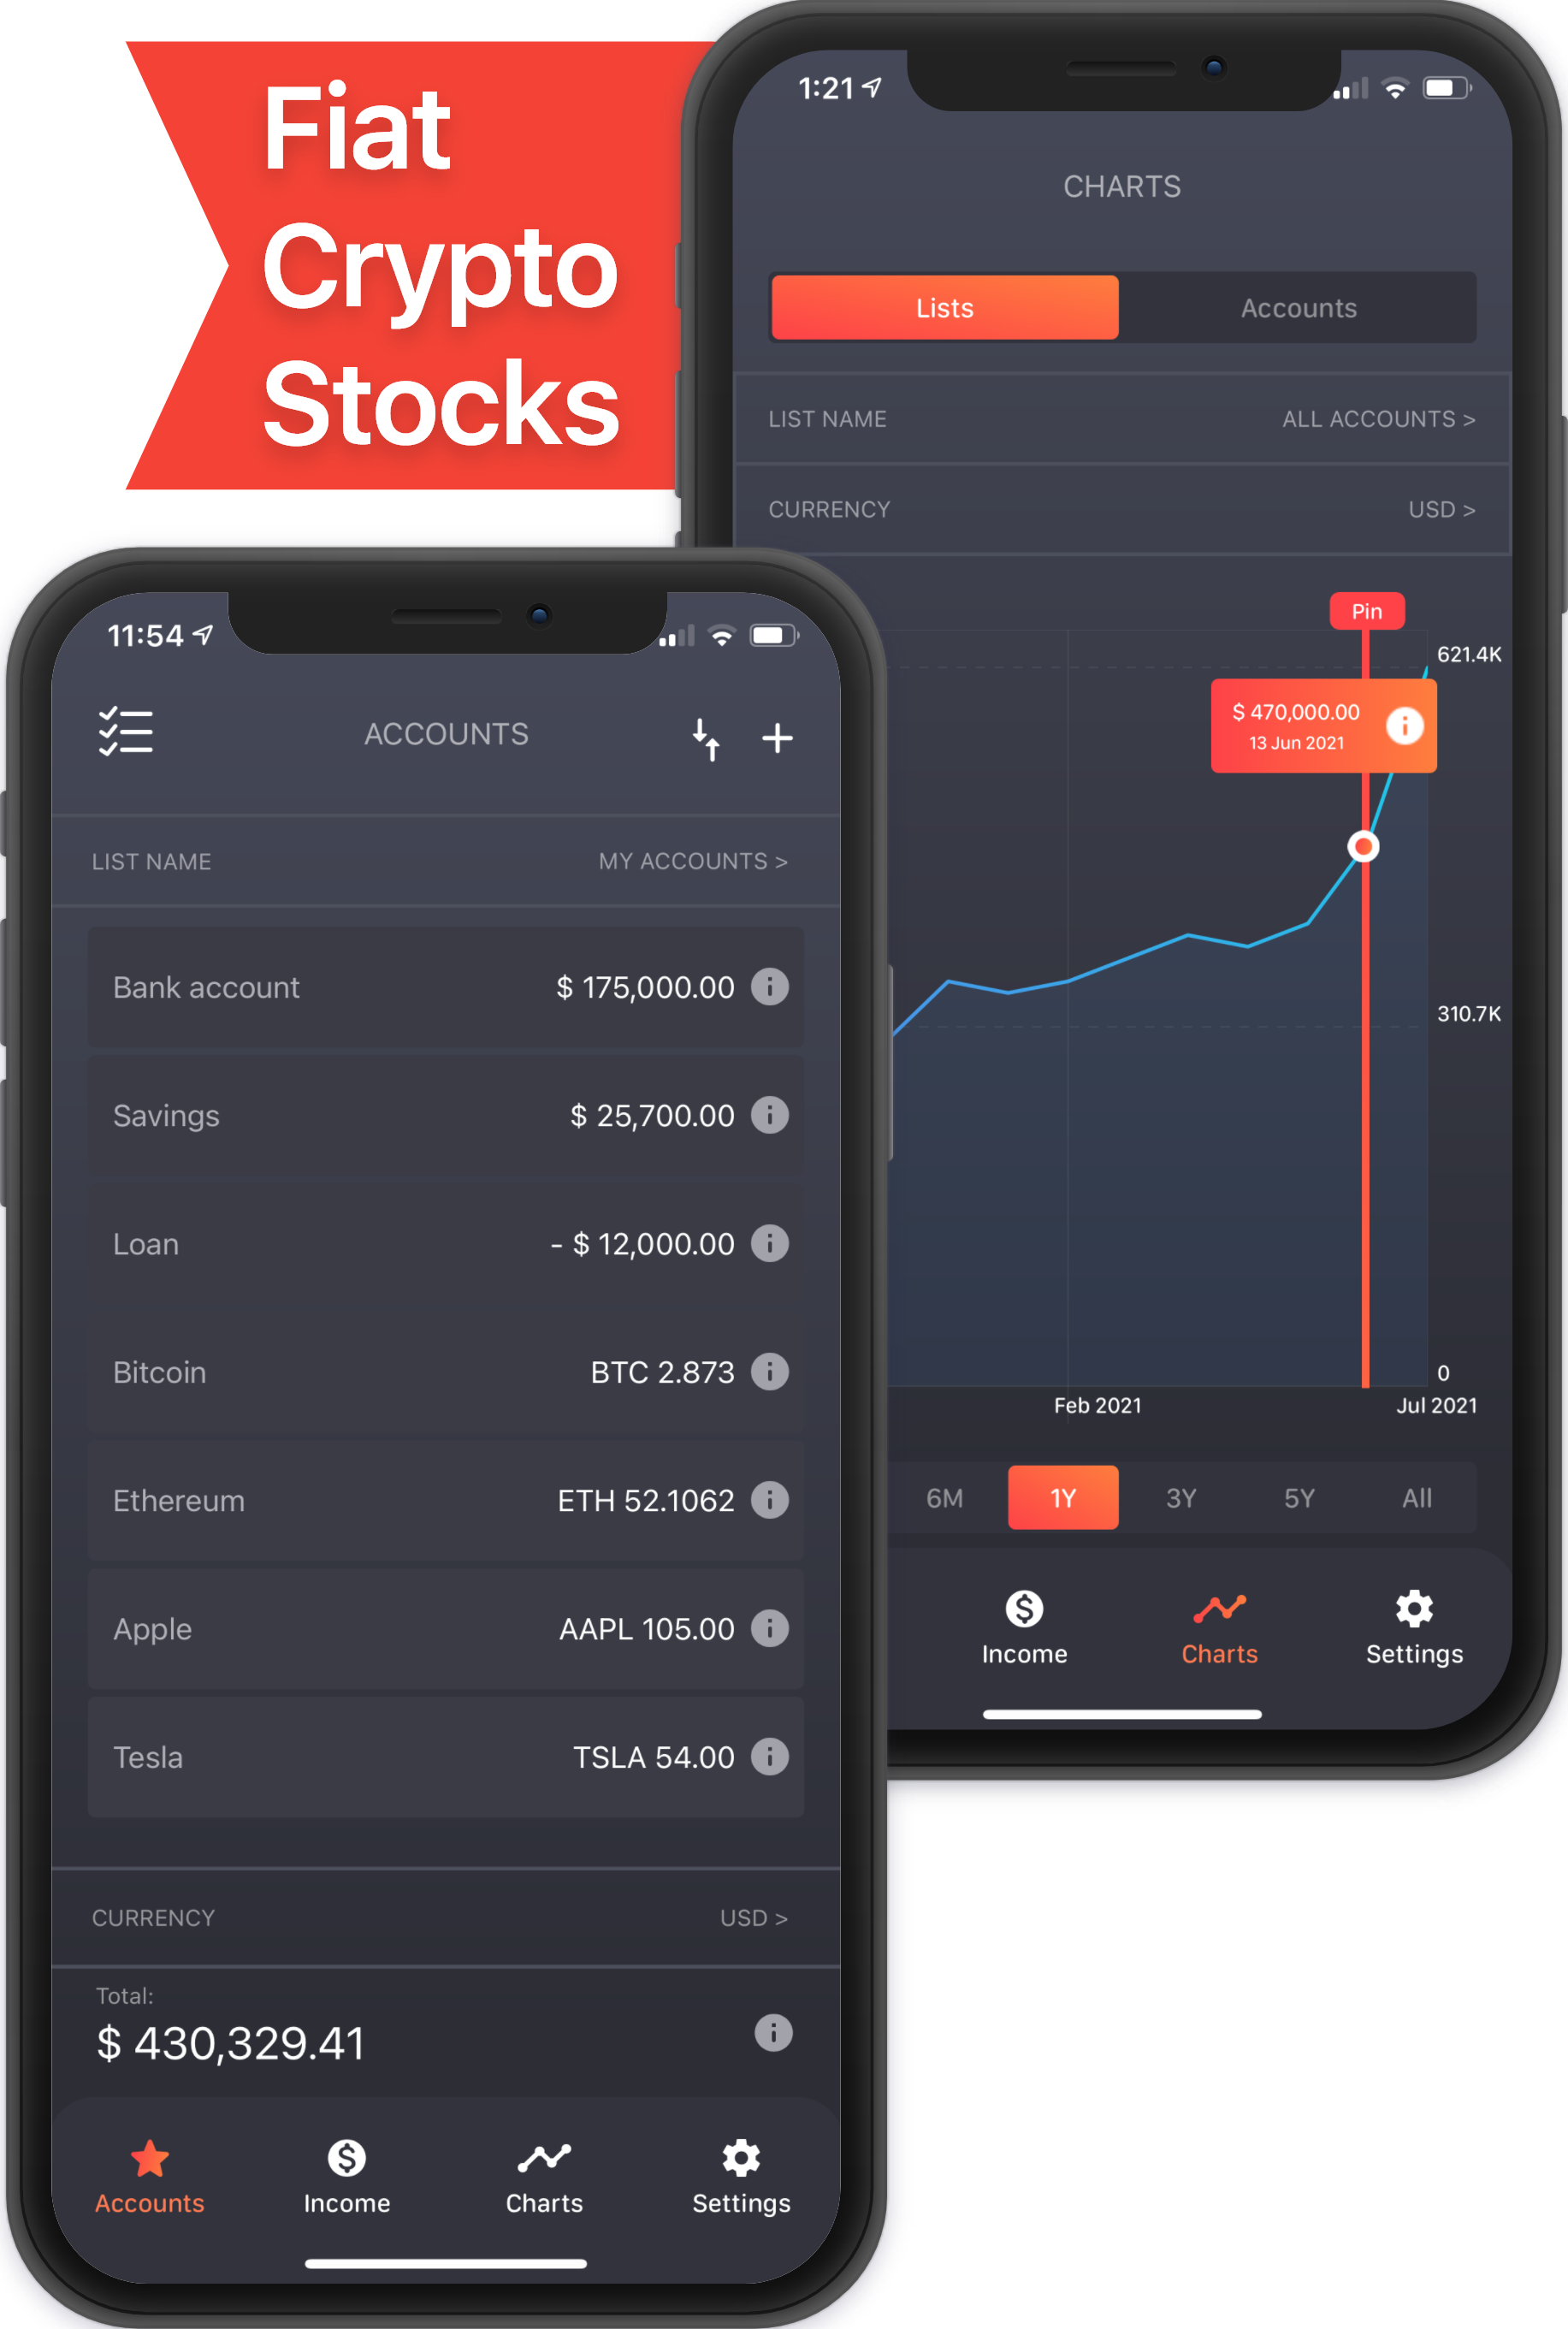
BalanceViewer shows your entire financial picture at a glance. Get control over your net worth in less time by tracking only account balances on a monthly basis. Observe your assets, liabilities, stock and crypto portfolios in one app.
See the big picture - keep track of account balances, not every transaction.
Monitor your portfolio in real time. Get an interactive chart of your financial life.
Use the app anonymously, without registration or linking a bank account.
The app supports 162 world currencies, 8000+ cryptocurrencies, and cover all US stocks, ETFs, and Mutual Funds (more than 120 000 in total).
Store your data in the cloud to access it from any device. Monitor accounts and progress across multiple devices.
Features |
Free Version |
Pro Version |
---|---|---|
Accounts | Up to 5 accounts | Unlimited accounts |
Customized lists | 1 customized list | Unlimited customized lists |
Custom categories | Up to 3 custom categories | Unlimited categories |
Filter for Income | Monthly | Monthly/Yearly/All |
Synchronization between devices | ||
Charts for Accounts | 3 Months | 3M / 6M / 1Y / 3Y / 5Y / Lifetime |
Charts for customized lists | ||
Passcode / Touch ID / Face ID protection | ||
Backups | ||
No Ads | ||
Price | Free | Starting from $0.99/month* |
Net worth is the single most important financial metric that can be tracked. It represents the sum total of your entire financial life, reduced to a few numbers. Your net worth is everything you own of significance (your assets) minus what you owe in debts (your liabilities).
If you have $300,000 in total assets, and $125,000 in total liabilities, your net worth would be equal to $175,000 ($300,000 – $125,000).
The application is designed to track balances in your accounts. Add all your Assets and Liabilities into BalanceViewer to see your current net worth. To add an account click the "+" button in the upper right corner on the Accounts tab. All Assets must have a positive balance and all Liabilities must have a negative balance.
You should do this at regular basis. We recommend to do this at least once per month (for example, every 1st day of the month). To update balance tap on the account and select "Enter Current Balance", enter current balance and save.
Yes, you can. Click on the existing account, select "Enter Current Balance", change the date from the current to the desired date in the past, enter Amount and save. Also you can do the same via History screen. Select History in account's menu, click the "+" button in the upper right corner on the History screen, change the date from the current to the desired date in the past, enter Amount and save.
Income does not affect account balances, but it integrates with them in Charts. By tracking income, you can easily get detailed statistics about all your income for any month or year. To see the total amount of income for any period of time, open the Charts tab, click the “Pin” button and select the start and end points. In addition, by tracking income, you can see the total amount of expenses, which is calculated AUTOMATICALLY based on account balances and income, using the following formula:Start balance + Income for the selected period - End balance For example: The balance on April 1 is $10000 The balance on May 1 is $15000 Income from April 1 to May 1 is $7000 Expenses: $10000 + $7000 - $15000 = $2000
No, we recommend updating all account balances once a month. You can update your account balances after adding income, only if you want to check the total income or expenses for a new period of time, but this is not necessary.
There is no functionality to track expenses manually. Expenses are calculated AUTOMATICALLY on Charts based on account balances and income, using the following formula:Start balance + Income for the selected period - End balance For example: The balance on April 1 is $10000 The balance on May 1 is $15000 Income from April 1 to May 1 is $7000 Expenses: $10000 + $7000 - $15000 = $2000
Lists can be useful for tracking balances on some of your accounts. By default, there is only one list named "All Accounts". It consists of all your accounts and cannot be edited or deleted. If you want to track also the overall balance of only a few accounts (an example, you want to check the balance and chart only for your assets and exclude liabilities). To do this, click the "Lists" button in the upper left corner on the "Accounts" tab, click the "+" button to create a new customized list, name the list and check only the accounts you want to track, click to save changes. Now, on the "Accounts" and "Charts" tabs click on "List Name" field and select the created list. You will see total balance or chart only for the selected accounts.
To transfer or synchronize data to another device, open "Settings" and click "Sign in to sync data". You must sign in with Apple, Google or Facebook account, after authorization, all your data will be associated with your social account. Now you can sign in using the same account on another iPhone. During authorization you will see the "Synchronization Conflict" screen. On the screen, you should select the most relevant data for synchronization:
Be careful when choosing the most relevant data: when choosing Cloud data, your Local data will be overwritten with data from Cloud and vice versa, when you select Local data, Cloud data will be overwritten by Local data. This action cannot be undone, and overwritten data cannot be restored. After confirmation the selected data your iPhones will be synced/transfered. If you want to use the application on both devices, do not log out. If you just need to transfer data from one iPhone to another, after the process is complete, you can log out of the system on both devices and continue to use the application on the new iPhone.
By creating backup you will get a copy of all your current data in .json file that can be saved on your iPhone, iCloud, sent via messages to your financial advisor etc. Do not edit data manually in .json file, since it may lead to problems with importing it into the app. To create a backup go to settings and click "Create a backup".Using "Import data from backup" option which is also located in settings you can restore previously saved data. All you need to do is select the correct .json file. Please take a note that all your current data will be replaced by data from the selected file and can't be restored.
To protect your data open "Settings" and click "Set up passcode". Turn on "Passcode" and set the passcode that you need. Depending on the model of your iPhone, you can also configure entering to the application using Face ID or Touch ID. When a passcode is set, all your data will be protected. Passcode is required after 1 minute of inactivity and every time after starting the application.
To change the order of accounts or lists, click the "two arrows" button in the upper right corner of the Accounts or Lists screen. Press and hold for 1 second "two arrows" next to the balance. Now you can reorder the selected account / list by dragging it. When the reordering is completed, click the "two arrows" button in the upper right corner again.
The app uses FireBase (Google server) with Anonymous Authentication. It helps you to use the app anonymously, without creating account or providing any sensitive data about yourself. Each device has a unique identifier, therefore, even if you deleted the application by accident, just install it again and all the data will be in the app. Do not worry, there is no way to associate a unique identifier with any of the users, unless the user will provide it by himself to our support (for example in case of problems). If you want to synchronize data between devices or transfer data from one device to another you must to authorize using Apple, Google or Facebook accounts. If you choose sign via Apple instead your personal email address will be created a random address. So your personal email address isn't shared with the app during the account setup and sign in process. While authorization using Google or Facebook identifier will be your email. But even in this case, we do not store your password or any other information about you, except your email address. If you want to use the same account with someone on different devices or do not want to share your personal email, you can create a new email through Google/Facebook and use it for these purposes.
To delete all data, you must delete all your accounts from the application. If you synchronized your data via Apple, Google or Facebook, first log into Apple, Google or Facebook account via application and delete all accounts, then log out and make sure that there are no accounts in the app, if they still exist remove them as well. After that all the data will be completely removed. In case you want to use a new device, transfer all the data to a new iPhone using instruction from FAQ section. After that log out from social account on old device and delete all the accounts.
We love to get feedback from our users. Email us at support@balanceviewer.com and we'll get back to you as soon as possible.